Understanding the Importance of a Baby Shower Welcome Sign
Setting the Tone for Your Celebration
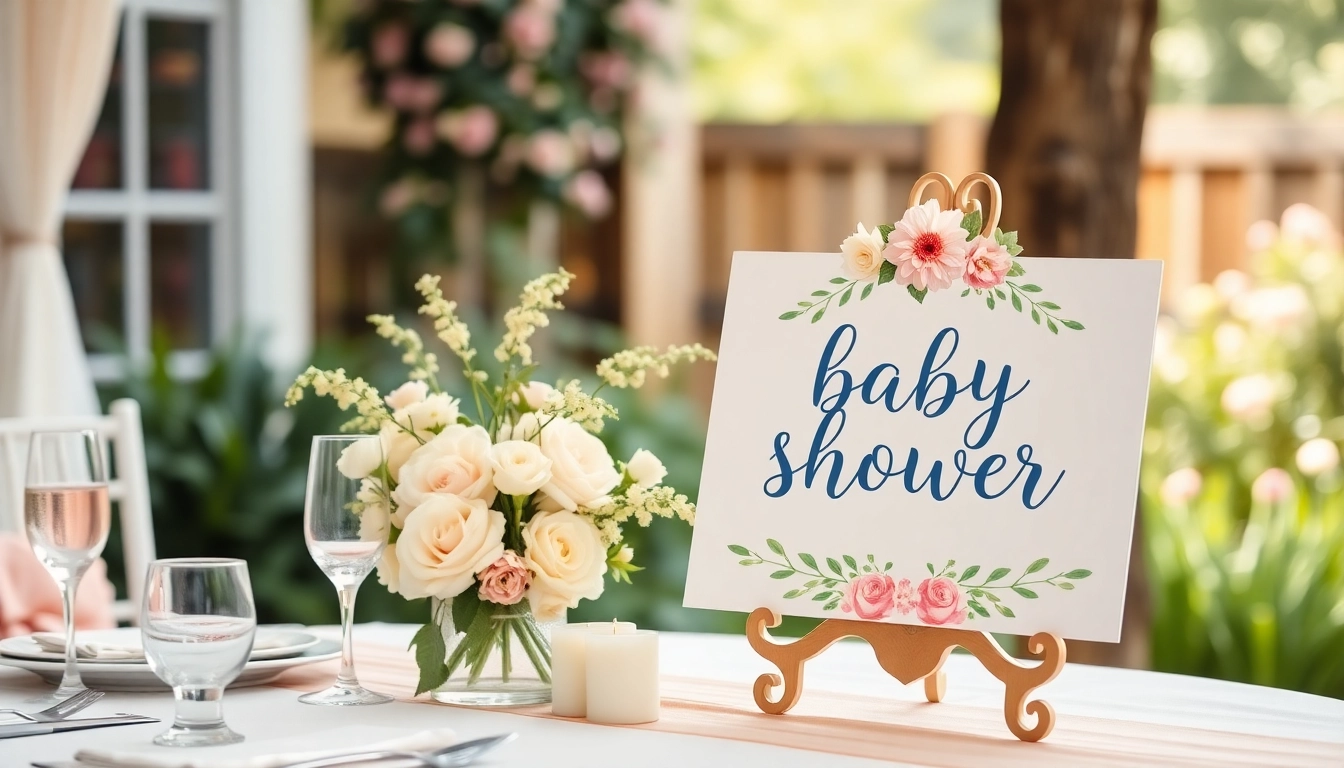
One of the most memorable aspects of a baby shower is the initial impression guests receive upon arriving. A thoughtfully crafted baby shower welcome sign instantly communicates the theme, style, and mood of the event. Whether you’re envisioning a whimsical woodland theme or a sleek, modern aesthetic, your welcome sign can set the tone and build anticipation. It acts as a visual cue, inviting guests to step into a carefully curated environment that celebrates the upcoming arrival of a new family member.
Beyond aesthetics, the welcome sign conveys warmth and friendliness, making every guest feel appreciated and included from the moment they step through the door. This initial engagement is vital—it’s the first impression and the start of cherished memories, photographs, and heartfelt moments that will carry through the celebration.
Creating a Welcoming Atmosphere
A personalized welcome sign enhances the overall atmosphere, transforming a simple entrance into a memorable focal point. Think of it as virtual handshakes or hugs that greet each guest. Customizing the message—whether it’s a simple “Welcome Baby [Name]” or a humorous caption—can instantly make guests feel at home and connected to the event.
Research shows that personalized decor, including welcome signs, increases guest engagement and contributes to a cohesive event aesthetic. By aligning your sign’s design with your chosen color scheme, theme, and personality, you foster an environment where everyone feels they are part of something special. High-quality signage shows thoughtfulness, elevating your baby shower from ordinary to extraordinary.
Choosing the Perfect Design for Your Baby Shower Welcome Sign
Color Palettes and Themes That Match Your Event
Designing a baby shower welcome sign begins with selecting a color palette that mirrors your overall theme. Soft pastels like blush pinks, baby blues, or mint greens are classic choices, but bold metallics or vibrant hues can add a modern twist. For themed events such as nautical, woodland, or floral, incorporate imagery and colors that tie into the broader décor.
For example, a rustic theme might feature natural wood textures and earthy tones, while a gender-neutral pastel palette provides flexibility and elegance. Matching your sign’s colors to your overall design creates visual harmony and enhances the aesthetic coherence of your celebration.
Font Styles and Readability Considerations
The font style is crucial to ensure your message is clear and impactful. Script fonts evoke elegance and charm, yet may sacrifice readability from a distance. Sans-serif fonts are modern and clean, ideal for contemporary themes. Decorative fonts should be used sparingly, primarily for headings or accents.
Size matters. For signs meant to be seen from afar, consider large, bold lettering. Ensure there’s sufficient contrast between text and background—dark text on a light background or vice versa enhances visibility. Prioritizing legibility guarantees every guest can easily read and appreciate your welcoming message.
Incorporating Personalized Touches Like Baby Names
Personalization elevates your welcome sign from generic to meaningful. Including the baby’s name or expected arrival date creates a unique focal point. For example, a sign that reads “Welcome to [Last Name] Baby Shower” or “Hello, Baby [Name]” resonates more deeply with guests and leaves a lasting impression.
Consider adding additional elements such as a photo of the parents-to-be, a monogram, or fun hashtags like #BabyShowerJoy. These details foster a warm, inclusive atmosphere and create ideal photo opportunities for guests, providing lasting memories for parents-to-be and attendees alike.
Materials and Sizes for Your Baby Shower Welcome Sign
Popular Materials: Wood, Acrylic, Foam Board
Choosing the right material depends on the style, location, and budget of your celebration. Wood signs offer a rustic, durable aesthetic that lends itself well to outdoor or vintage-themed showers. Acrylic signs are sleek, modern, and weather-resistant, making them perfect for outdoor setups or elegant indoor events. Foam board signs are lightweight, affordable, and easy to customize, ideal for DIY projects or temporary displays.
Additionally, materials like chalkboard or metal can add unique textures, allowing for creative customization and reusability. It’s important to consider durability, ease of setup, and how well the material complements your overall decor when selecting your sign medium.
Optimal Sizes for Visibility and Decor Balance
Size selection significantly impacts the visibility and aesthetic balance of your welcome sign. A common size range for outdoor signs is approximately 24″ x 18″ to ensure readability from a distance while not overwhelming the entryway.
For indoor or near-entry displays, smaller sizes like 18″ x 12″ can suffice, providing a charming touch without cluttering space. Keep in mind the height of your stand or easel and the surrounding decor to achieve visual harmony. Larger signs are photogenic and serve as focal points, while smaller signs offer a subtle greeting. Consider the venue size and guest flow to determine the best size for your specific celebration.
DIY Printable Options vs. Custom Orders
One cost-effective and flexible approach is utilizing DIY printable welcome signs. Numerous online resources offer free or paid templates that you can download, edit, and print at home or through a professional print shop. This option allows full customization—adding names, dates, and themes—without waiting weeks for delivery.
On the other hand, custom orders from professional signage companies ensure high-quality materials, precise printing, and unique designs tailored to your specifications. Custom signs may come with options for dimensional elements, special finishes, or intricate graphics, offering a polished look that’s hard to replicate DIY-style.
Assess your budget, timeline, and desired aesthetic to choose the best route. For most DIY enthusiasts, printable templates coupled with quality printing deliver impactful results at a fraction of the cost, while custom signage caters to those seeking exclusivity and professional craftsmanship.
Placement and Setup Tips for Maximum Impact
Best Locations to Showcase the Sign
Strategic placement maximizes visibility and guest engagement. Typically, the most impactful location is right at the entrance or porch, where it immediately greets visitors. Position the sign near pathways, doorways, or entry arches to ensure it’s the first thing guests see.
If your event features multiple areas, consider additional signs guiding guests to key zones like gift tables, food stations, or photo booths. Indoor setups can benefit from placing signs on easels or wall mounts at eye level, creating focal points that complement your overall decor.
Using Stands, Easels, or Hanging Displays
Support structures influence the overall aesthetic. A sturdy easel or decorative stand can elevate your sign, making it more prominent. Wooden or metal easels add rustic or vintage charm, while sleek acrylic stands offer a modern touch.
Hanging signs from decorative hooks, drapes, or arches can create a welcoming canopy effect. For outdoor setups, weather-resistant mounts or stakes ensure stability. Combining different display methods can add visual interest and enhance the guest experience.
Lighting Considerations to Highlight the Sign
Illumination enhances visibility, especially for evening or dim-lit venues. Use string lights, lanterns, or uplights positioned to draw attention to your welcome sign. Soft, warm lighting evokes a cozy, inviting ambiance, while focused spotlighting can create dramatic effects.
Ensure the lighting does not cause glare or obscure the sign’s message. Test placement ahead of time to achieve optimal illumination, and consider battery-operated or solar-powered options for ease of setup during outdoor events.
Maintaining and Reusing Your Baby Shower Sign
Protecting the Sign for Future Use
Investing in protective coatings like clear acrylic spray or laminate can preserve your sign’s appearance. For wooden signs, applying sealants prevents water damage and warping. Ensuring your sign is stored in a dry, clean container or on a wall-mounted hook minimizes wear and tear.
Proper maintenance extends the lifespan of your signage, allowing you to reuse it for other celebrations or as nursery décor.
Creative Ways to Reuse or Store
Post-event, consider repurposing your welcome sign to decorate your baby’s nursery, using it as a wall art piece or nameplate. You can also store it safely in a protective cover or frame for future occasions or special milestones.
For DIY printable signs, retaining the original digital files allows easy editing for subsequent events. Once updated, you can print new copies and reuse the base design templates repeatedly.
Adding to Your Nursery Décor Afterwards
Many parents cherish decor that has sentimental value. Your baby shower welcome sign, especially if personalized, can serve as a decorative element in the nursery. Framing or mounting the sign creates a lasting memento of the celebration and welcomes your little one into their new environment.
This practice not only preserves the memory but also adds a unique, handcrafted touch to your child’s room, bridging the festive joy of the shower with everyday life.